

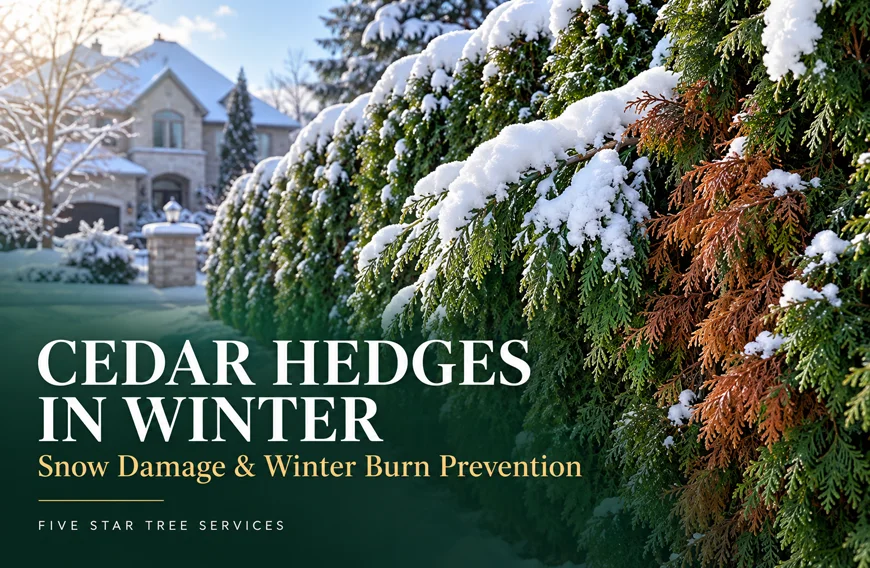
Cedar hedges are everywhere in the GTA because they grow dense, stay green all year and give you privacy. But every spring, plenty of homeowners walk outside to find hedges that are splayed open, snapped at the top or covered in brown, crispy patches.
Most of that damage happens over the winter and much of it is preventable. Here’s how to protect your cedar hedge from heavy snow and winter burn, and what to do if it’s already been hurt.
Why Cedar Hedges Struggle in GTA Winters
Most hedges in our area are eastern white cedar, also known as Thuja occidentalis. It’s a tough native species, but hedges are crowded, sheared narrow and often planted beside driveways and roads.
Two problems cause most winter damage:
- Snow and ice load: Wet snow piles up on top of the hedge and pushes upright stems apart, bending or breaking them.
- Winter burn: Foliage dries out and turns brown because it loses moisture faster than frozen roots can replace it.
What Winter Burn Really Is
Cedars keep their foliage all winter, and that foliage keeps losing water on sunny or windy days. When the ground is frozen, the roots can’t pull up moisture to replace it. The result is dehydrated foliage that turns tan or bronze by late winter.
Winter burn is usually worst on the south and west sides of a hedge, where late-winter sun and prevailing winds hit hardest. Hedges along roads and driveways also face salt spray, which adds to the browning and can damage roots.
Step 1: Water Deeply Before the Ground Freezes
The best defence against winter burn starts in the fall. A cedar that goes into winter well hydrated has far more moisture in reserve.
- Water deeply once a week through October and November when rainfall is low.
- Soak the root zone slowly so water reaches 20 to 30 cm down, rather than just wetting the surface.
- Keep going until the ground starts to freeze.
New hedges planted in the past two or three years need this the most. For more on timing, see our guide to fall tree watering habits.
Step 2: Mulch the Root Zone
A layer of mulch helps the soil hold moisture and moderates temperature swings around the roots. Spread 5 to 8 cm of shredded bark or wood chips along the base of the hedge.
Keep mulch a few centimetres away from the trunks to avoid rot and rodents.
Step 3: Tie Multi-Stem Cedars Against Snow Load
Tall, narrow cedars with several upright leaders are the most likely to splay open under heavy snow. Tying them loosely holds the stems together so snow slides off instead of wedging them apart.
- Use soft material such as jute twine, cotton rope or wide garden tape. Avoid wire.
- Start near the base and spiral the tie upward, keeping it snug but not tight.
- Remove all ties in early spring so they don’t girdle growing stems.
Step 4: Use Burlap Screens, Not Tight Wraps
Burlap shields hedges from wind, sun and road salt spray, but how you install it matters. Wrapping burlap tightly around the foliage traps moisture and heat and can do more harm than good.
Instead, set wooden stakes a short distance from the hedge and staple burlap to them to form a screen. Focus on the exposed south and west sides and any side facing a road or driveway.
Step 5: Clear Snow the Right Way
After a heavy snowfall, gently brushing snow off your hedge can prevent bent or broken stems. Use a broom and push upward from underneath so you lift the snow off rather than adding downward pressure.
A few rules to follow:
- Leave ice alone. Frozen branches are brittle, and knocking off ice usually breaks them. Let it melt naturally.
- Don’t pile shovelled snow on the hedge, especially snow from the driveway, which may contain salt.
- Switch de-icers near hedges to calcium magnesium acetate or sand where possible. Our article on protecting trees from salt and ice covers this in more detail.
Avoid These Fall Mistakes
Some common fall habits make winter damage worse. Avoid heavy shearing after late summer, because fresh cuts and tender regrowth don’t have time to harden off before the cold arrives.
Also skip high-nitrogen fertilizer in the fall. It encourages soft new growth at exactly the wrong time of year. Save structural pruning and feeding for spring and early summer.
How to Assess Damage in Spring
Brown foliage in March doesn’t always mean a dead cedar. Scratch a few affected twigs with your fingernail. Green tissue underneath means the branch is alive and may recover.
Be patient and wait until late spring before making decisions:
- Watch for new green growth from the affected areas by late May or June.
- Prune out branches that stay brown and brittle after new growth appears.
- Gently pull splayed stems back into position and tie them for the season.
- Replace sections that are fully dead to restore the hedge line.
For larger gaps, our tree planting and transplanting team can source and install matching cedars.
When to Call a Professional
Some winter damage is beyond a DIY fix. Call an arborist if your hedge has broken leaders, large sections of dieback, or if snow-bent cedars are leaning over a driveway, walkway or power line.
Our hedge and shrub trimming service can restore shape and remove damaged growth correctly in spring. If a storm leaves cedars blocking access or threatening property, our storm and emergency tree services team can respond quickly.
Get Your Cedar Hedge Ready for Winter
A little preparation now saves you from a patchy, broken hedge in spring. Five Star Tree Services helps homeowners across the GTA keep their hedges healthy all year.
Call (416) 990-3355 or request a free quote. We’re based at 156 Duncan Rd, Richmond Hill.